

Happy Friday Crafters!!
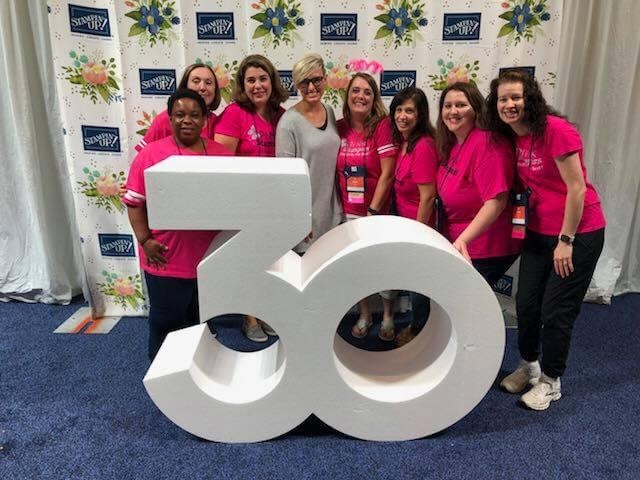
One thing that I love about being part of Stampin' Up! is having an amazing CEO who loves to create and use our products as much as we do! Sara Douglass is the daughter of the Co-Founder, Shelli Gardner. I have personally met both Sara and Shelli during Stampin' Up! Events and they are some of the most genuine and nicest people I have ever met. Here is a picture from the last in-person event I attended with friends and teammates where we celebrated Stampin' Up! 30th anniversary!
Sara often goes live on her Facebook Page to share some of her creations and I wanted to share one of her more recent Live's with you! She comes up with very clever tips & tricks to use the most out of the products we offer and this idea is pure genius in my mind!
Most of us crafters LOVE Washi Tape but sometimes we can be limited with the designs we are able to purchase. Well, fear no more! Sara has come up with a way to make your own Washi Tape using just a few items. By doing this, we can use items we already have in our stash and create even more customization to our creations!
The materials you will need are the following: Tissue Paper (what you use in gift bags), Stampin' Up! Adhesive Sheets (Item #152334), Stamp & Ink of your choice. That's it!! Your first step is going to be cutting the tissue paper to a manageable size, such as 6X6. Next, cut your adhesive sheet to the same size. Sara provides a great tip in her video; peel just a corner of the adhesive sheet and line up your tissue paper, stick it to the corner you peeled back. This will make your adhesive sheet line up with your tissue paper and help avoid any wrinkles. After you have your corner stuck on, you can then pull the rest of the backing for the adhesive sheet and gradually stick the rest of the tissue paper to the adhesive. Once you have the tissue paper attached to the adhesive sheet, you can start creating! Use any stamp set and ink you want for your desired project and create a pattern! Next, trim the sheet down to the width you want your washi tape. All that is left is adding it to your project, simple as that!!
I love when I see new techniques in how to use our products to get the most use out of them, I think this is a great way to use up adhesive sheets that you have leftover from larger projects. I don't know about you but I save all of my scraps and don't like to waste any product!
Check out Sara's Facebook Live video HERE to see this in action and don't forget to "Like" her Facebook page! She goes Live with so many amazing projects and tips like the one I am sharing with you today.
Have you tried this technique? If so I would LOVE to see what you have done with it. If you haven't, give it a try and tag me so I can see your creation!!
No comments:
Post a Comment